Replacing a water filter cartridge is the most important maintenance task for any home filtration system. A clogged or expired cartridge does not just stop filtering — it can actually become a breeding ground for bacteria and reduce water pressure significantly. This guide covers how to know when it is time to replace, how to do it correctly, and what mistakes to avoid.
How Do You Know When to Replace a Filter Cartridge?
There are three ways to track when your cartridge needs replacing:
1. Time-based replacement
Every filter manufacturer recommends a replacement interval. Follow these general guidelines:
- Pitcher filter cartridges: every 1 to 2 months, or every 40 gallons
- Countertop and faucet filters: every 3 months
- Under-sink carbon filters: every 6 to 12 months
- Whole house sediment pre-filters: every 3 to 6 months
- Whole house carbon filters: every 6 to 12 months
- Reverse osmosis membranes: every 2 to 3 years
- RO pre- and post-carbon stages: every 6 to 12 months
Mark the installation date directly on the filter housing with a permanent marker so you never lose track.
2. Gallon-based replacement
Some manufacturers specify a gallon capacity rather than a time interval. If your household uses more water than average — a large family, frequent cooking, or a leaky fixture — you may hit the gallon limit before the time limit. Tracking is harder without a flow meter, so time-based replacement is more practical for most households.
3. Performance indicators
Even within the recommended interval, replace your cartridge early if you notice:
- Noticeably reduced water pressure or flow rate
- Return of chlorine taste or smell
- Discolored or cloudy water coming from the filter
- Unusual taste that was not present when the filter was new
How to Replace an Under Sink Filter Cartridge
Step 1: Gather supplies
You will need the replacement cartridge (check the model number on your housing or manual), a filter housing wrench (usually included with the system), a bucket, and a towel.
Step 2: Shut off the water supply
Turn the shutoff valve under the sink clockwise to close it. Turn on the kitchen faucet briefly to release pressure from the line.
Step 3: Remove the filter housing
Place the bucket under the housing to catch the water inside. Use the housing wrench — inserted into the sump at the bottom — and turn counterclockwise (left) to loosen it. Once loose, unscrew it by hand. Some water will spill out; this is normal.
Step 4: Remove the old cartridge
Pull the old cartridge straight out of the housing. Dispose of it — spent filter cartridges are generally landfill waste, though some brands offer mail-back recycling programs.
Step 5: Clean the housing
Rinse the inside of the housing with clean water. If you see slime or sediment buildup, wipe it with a clean cloth. Do not use soap, as residues can contaminate the new cartridge.
Step 6: Install the new cartridge
Check the orientation — most cartridges have an arrow indicating which end goes up. Insert the new cartridge firmly into the housing. Lubricate the O-ring on the housing cap with a small amount of food-grade silicone grease (or a drop of tap water) to create a better seal.
Step 7: Reassemble and restore water
Screw the housing back onto the filter head — hand-tighten first, then snug it with the housing wrench. Do not overtighten. Turn the water supply back on slowly and check for leaks around the housing seal.
Step 8: Flush the new cartridge
Run water through the filter for three to five minutes to flush out any carbon fines from the new cartridge. Discard this initial flush water.
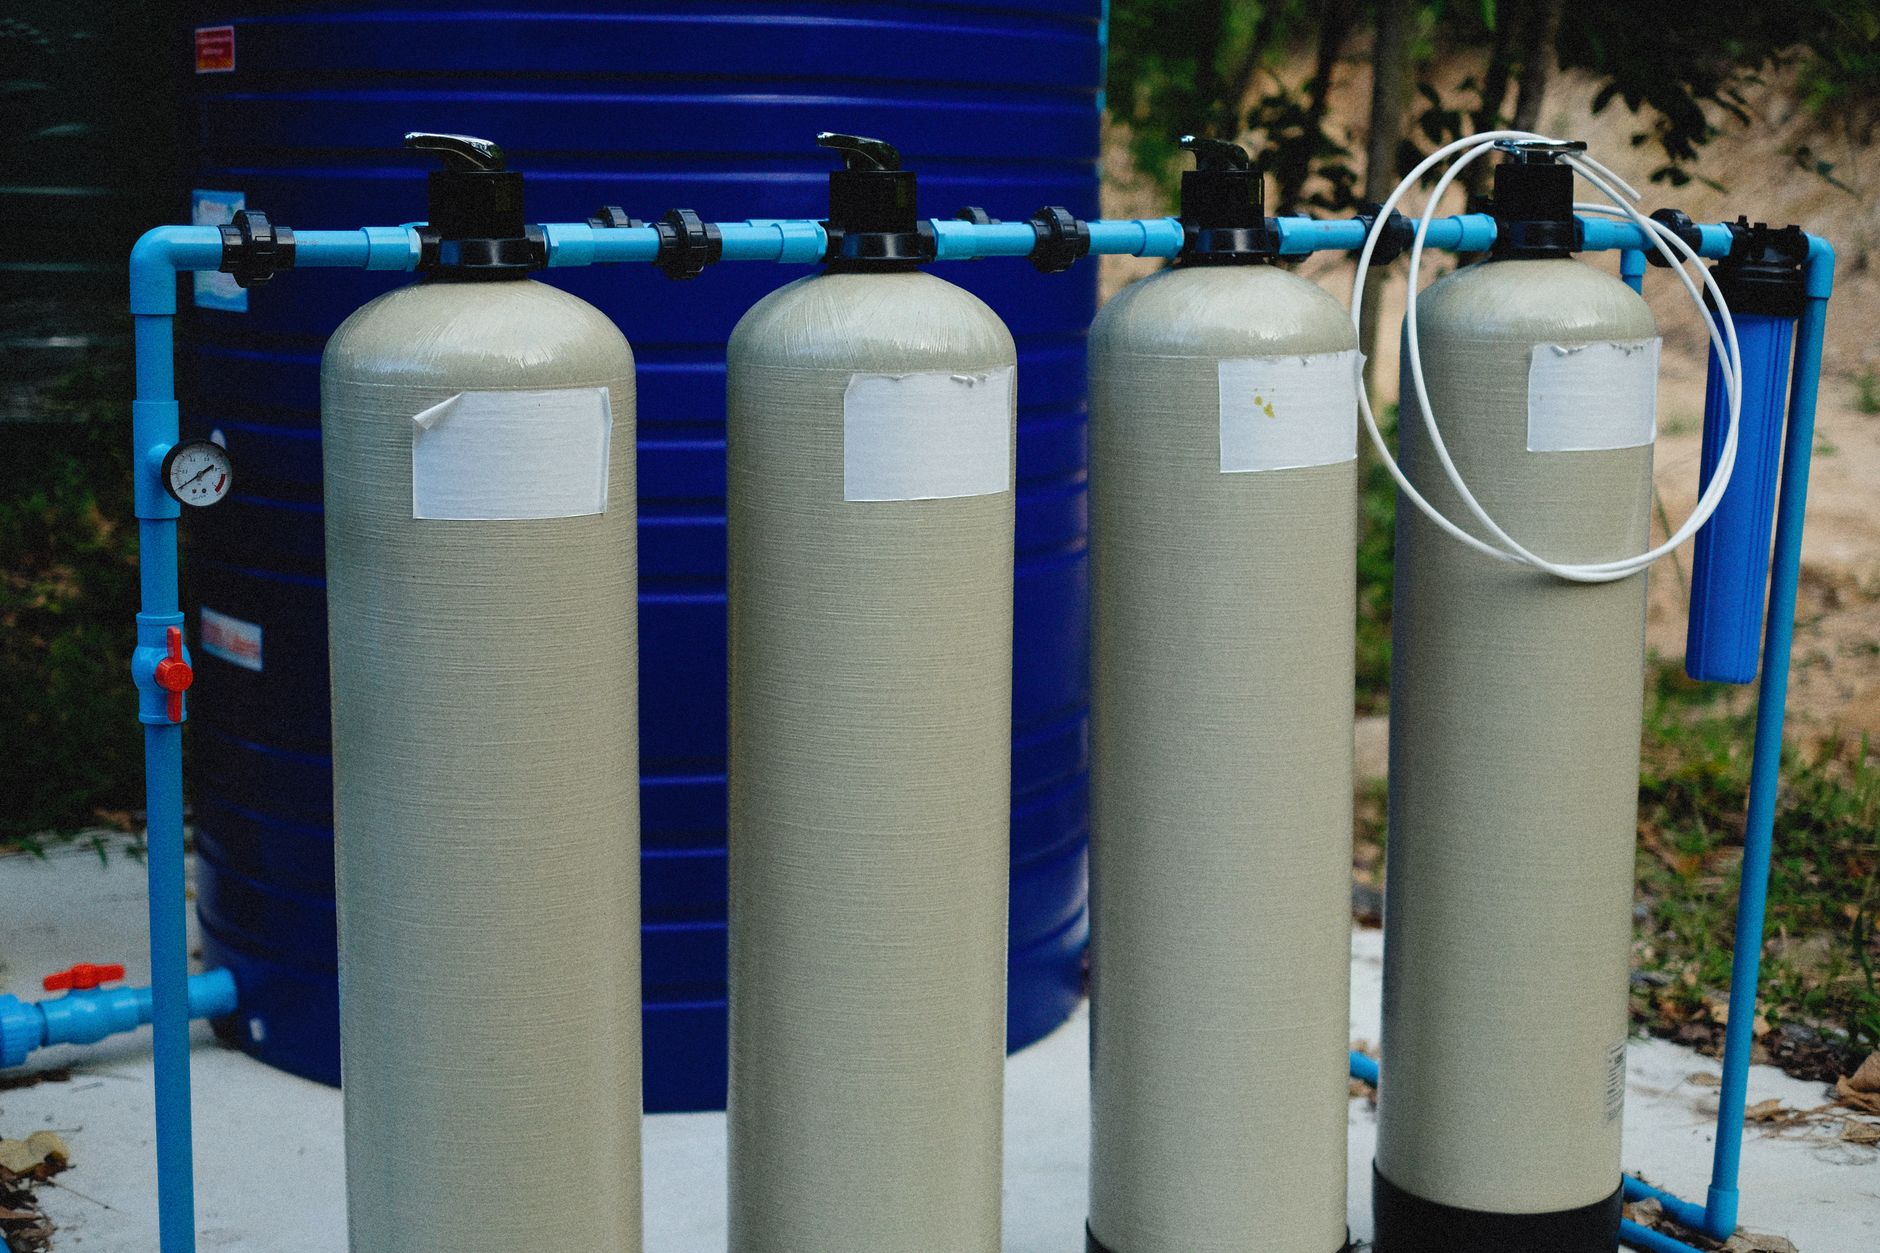
Replacing Whole House Filter Cartridges
The process is the same as under-sink, but you will shut off the main water supply to the house rather than the under-sink valve. Whole house housings are larger and may require more force to open. Most systems include a pressure release button on the housing head — press it before attempting to unscrew the sump to avoid a pressure-related spill.
Replacing Pitcher Filter Cartridges
Empty the pitcher completely. Remove the old cartridge by pulling it up or turning it, depending on the model. Soak the new cartridge in cold water for 15 minutes if the manufacturer recommends it. Snap it into place and fill the pitcher. Discard the first two full pitchers of filtered water.
Common Mistakes to Avoid
- Using the wrong replacement cartridge model — always verify compatibility before buying.
- Overtightening the housing, which can crack plastic housings and make the next removal very difficult.
- Skipping the flush step — unflushed carbon fines turn water black temporarily.
- Forgetting to mark the new installation date on the housing.
Bottom Line
Replacing your filter cartridge on schedule is the single most important thing you can do to keep your water clean. The process takes less than 15 minutes once you have done it a couple of times. Set a recurring calendar reminder so it never slips.